What are we making?
We are going to take an image of the Mona Lisa from da Vinci and add interactivity to it:
1. Add buttons that shows more content for our viewers
2. Add buttons that can play/pause background music viewers can listen to
See the Mona Lisa example in actionhere.
We made some other step-by-step examples you can findhere.
1. Add buttons that shows more content for our viewers
2. Add buttons that can play/pause background music viewers can listen to
See the Mona Lisa example in actionhere.
We made some other step-by-step examples you can findhere.
Create the sparqfire
There are a few ways to create a sparqfire. You can:
click the button at the top of the page.
Or the
Set up your new sparqfire
Set options here for your sparqfire like the name, cover image, rating, and other options.
Click when you're done to create the sparqfire.
Click when you're done to create the sparqfire.
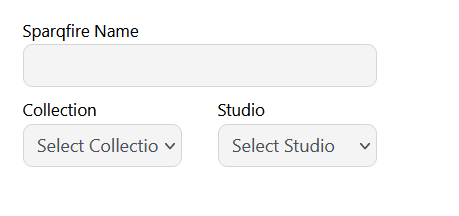
Every sparqfire needs to be part of a collection and studio.
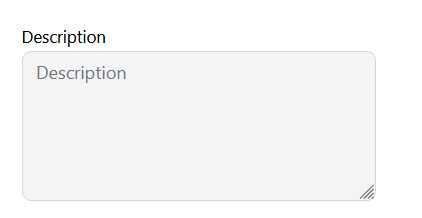
The description appears on your cover page (if your sparqfire has one)
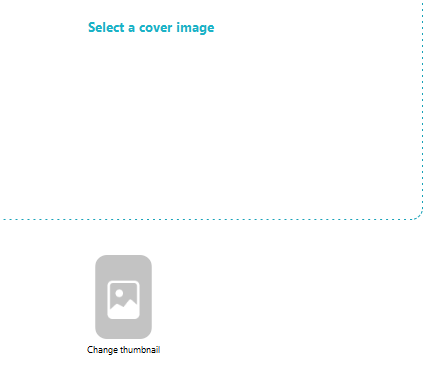
Upload/select cover image and thumbnail image
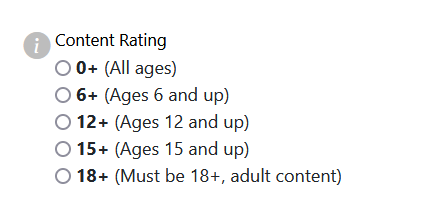
Set the rating of your sparqfire

Toggle whether you want to show viewers a cover page, progress bar, comments, and a list of pages
Edit your sparqfire
After you create your sparqfire, you edit it to add your creations and interactivity.
Step 1. Select Edit Sparqfire
Step 1. Select
Step 2. Clear the default content.
We create default content on every new sparqfire.
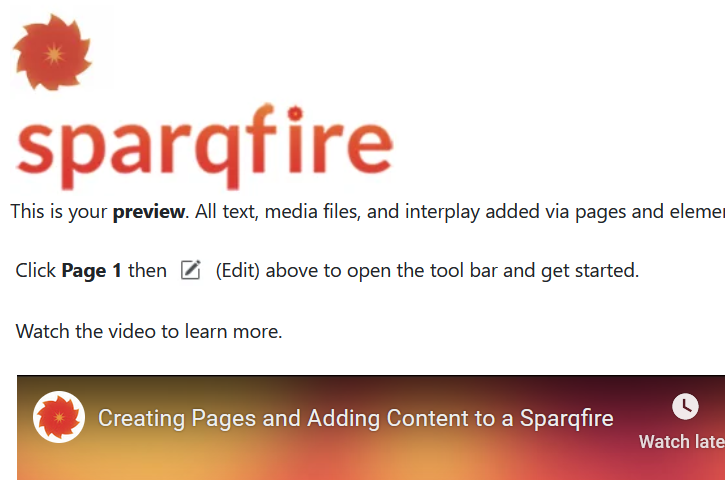
The default content for Page 1 is here.
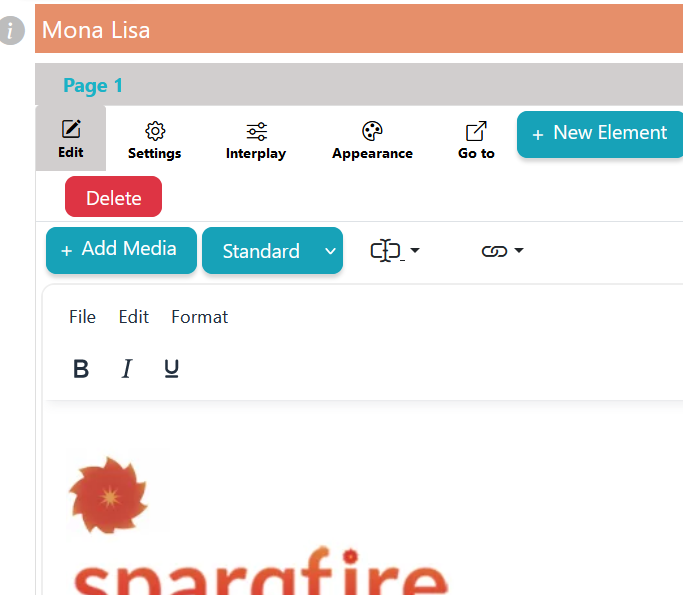
Select Page 1, then "Edit". Select all content and cut or delete it. Then select
Step 3. Create your elements. We will create 1 element for each of these things we want to add interactivity to:
- 1 element where we'll add our Mona Lisa image
- 3 elements for the popup buttons
- 3 elements for the popup texts
- 1 element where we'll add our audio
- 1 button element to play the audio
- 1 button element to pause the audio

button adds an element to the Page. In this case we are adding 10 elements.
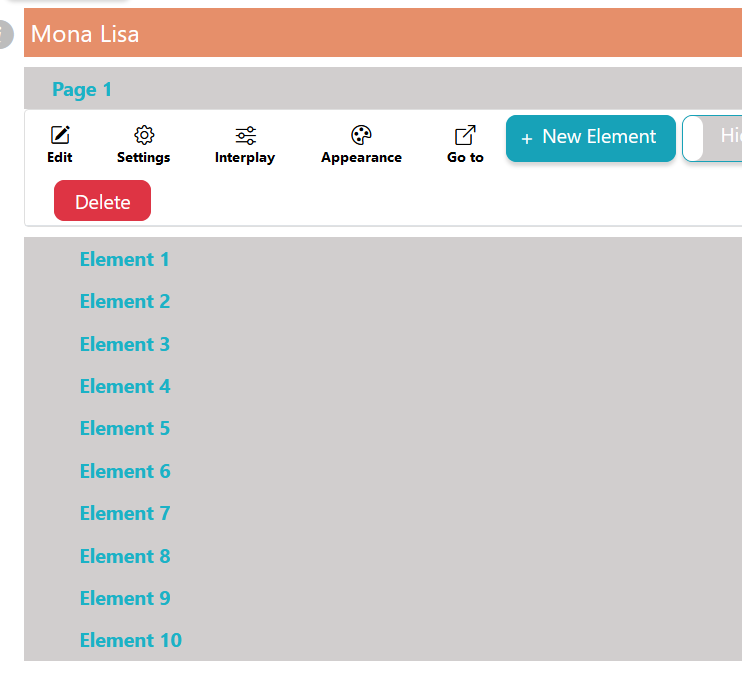
When we're done we have 10 elements.
Step 4. Let's rename our elements
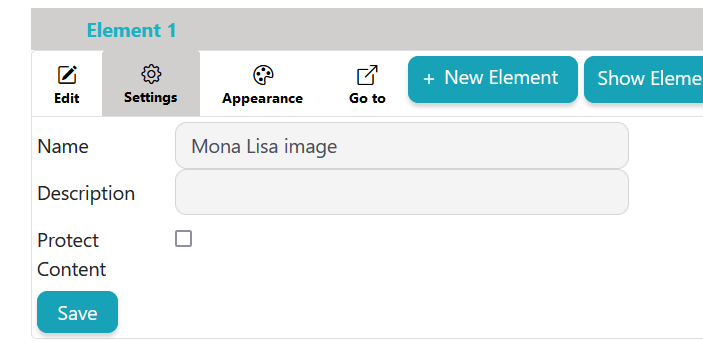
For each element, select the element name, then settings. Change the name then select
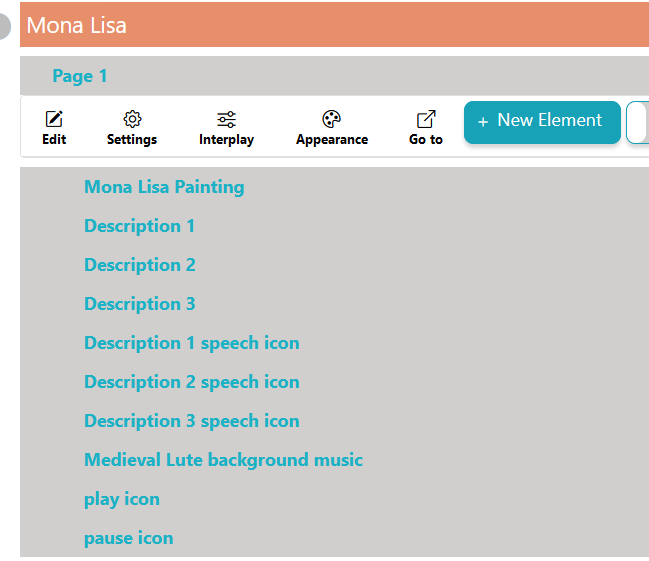
After renaming
Step 5. Now let's add our media:
- Mona Lisa image
- Our audio
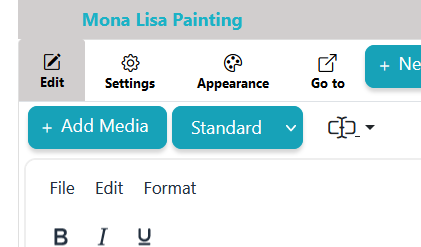
Select the element then select the
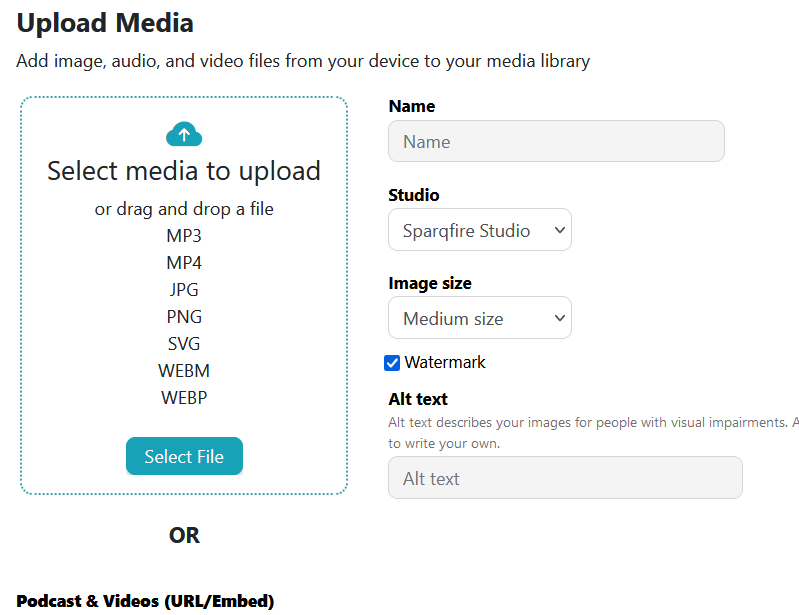
Select and upload your file. You can add images, audio, and video files. Even embeds from Youtube, Spotify, Vimeo, and Apple!
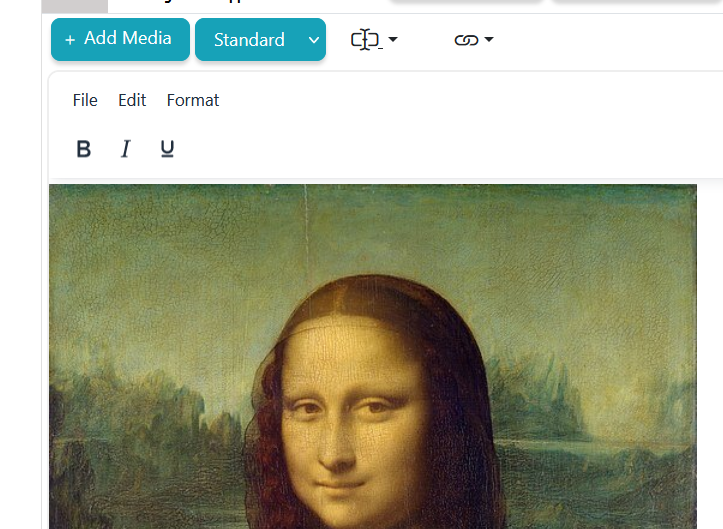
The media you uploaded should be in the element. Select
Step 6. Let's add and format our text:
- Description 1
- Description 2
- Description 3
- Description 1 speech icon
- Description 2 speech icon
- Description 3 speech icon
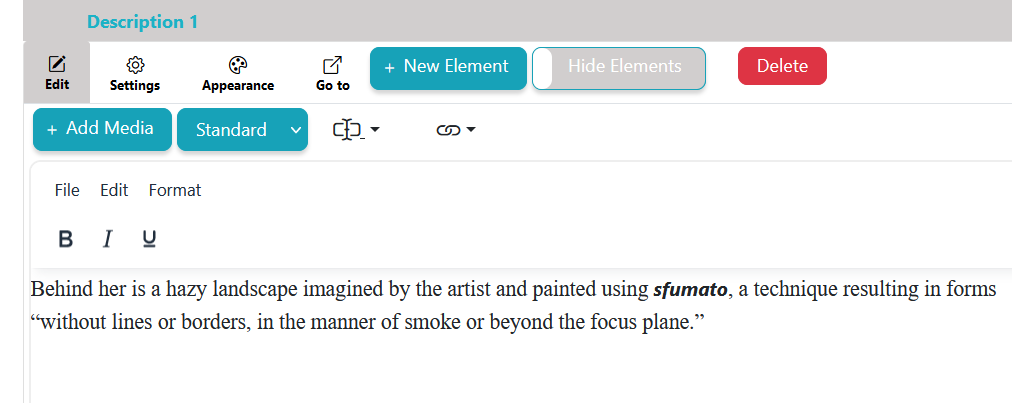
Select the element and then Edit to edit or paste the text.
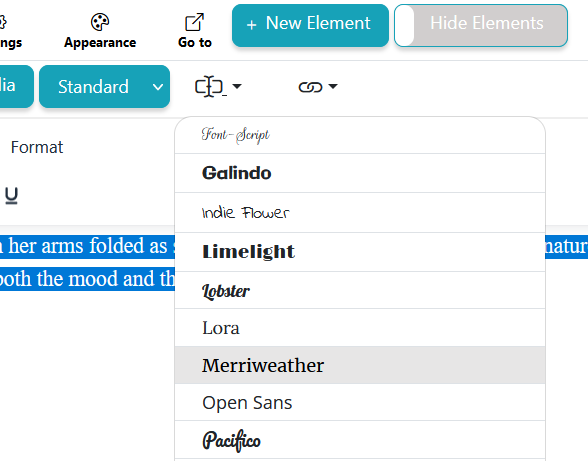
Set styles like font, make a button, underline, or make your own styles.
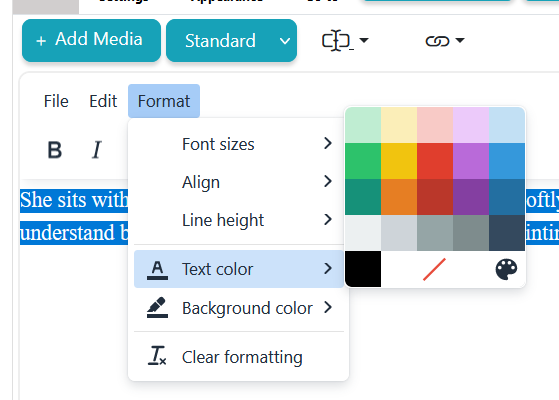
Quickly set colors and sizes with the Format menu.
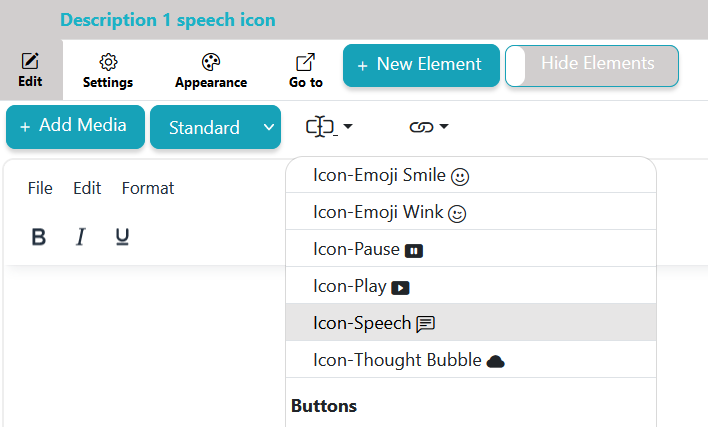
For the speech icons, select the button and then select Icon-Speech
Step 7. Move your elements on the page:
You can drag/drop each element on the page where you want it. This (and interplay) is why we use separate elements.
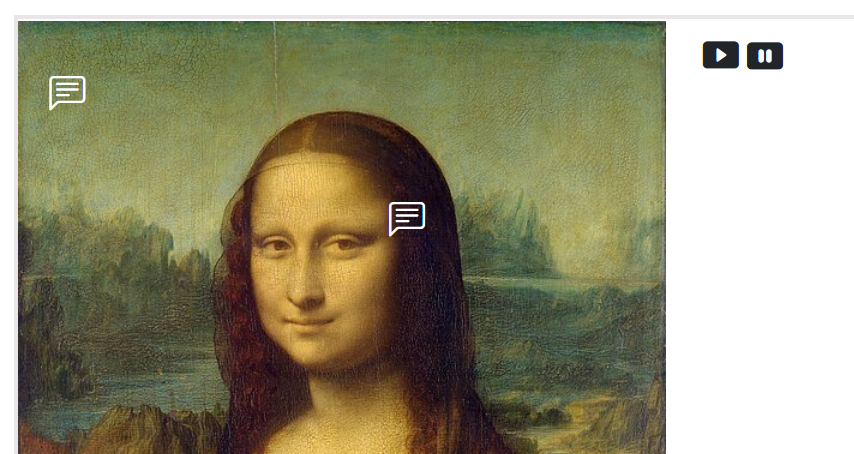
Here's what it could look like after we move all the elements to their correct position.
Step 8. Add interactivity. On Sparqfire we call that "Interplay". Select the Page 1, then Interplay. For each interplay
- Select Add Interplay
- Set the interactivity we want to add
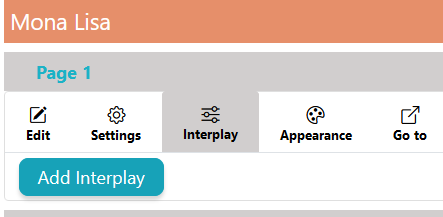
Interplay is created on the page. Select for each action you want.
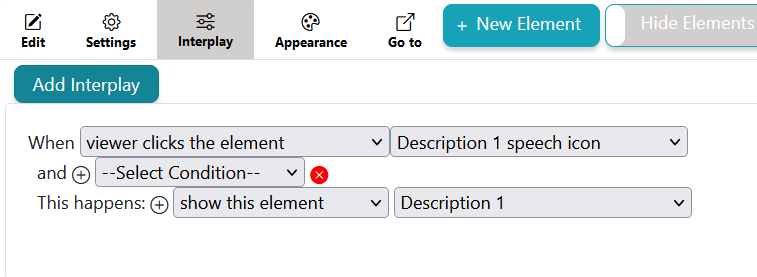
1st we want to display the text we added for Description 1 when you click the Description 1 speech icon. Sparqfire automatically hides the element until it needs to be shown.
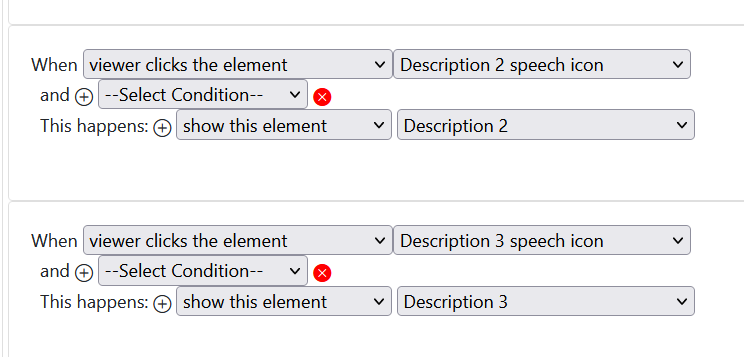
Add the other 2 description popup interplays.
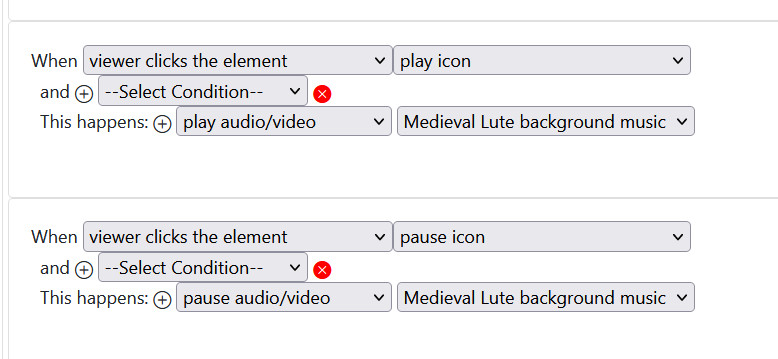
Now add the interplay to play / pause the audio.
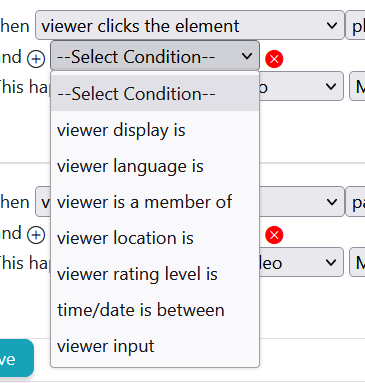
We don't have any for this example, but you can add conditions for the viewer as well.
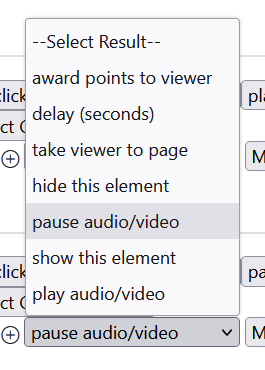
And you can do more than show elements or play/pause audio/video.
Step 9. From here you can do more actions:
- Add more pages
- Add an audience for who can see your sparqfire
- Set subscription / purchase options
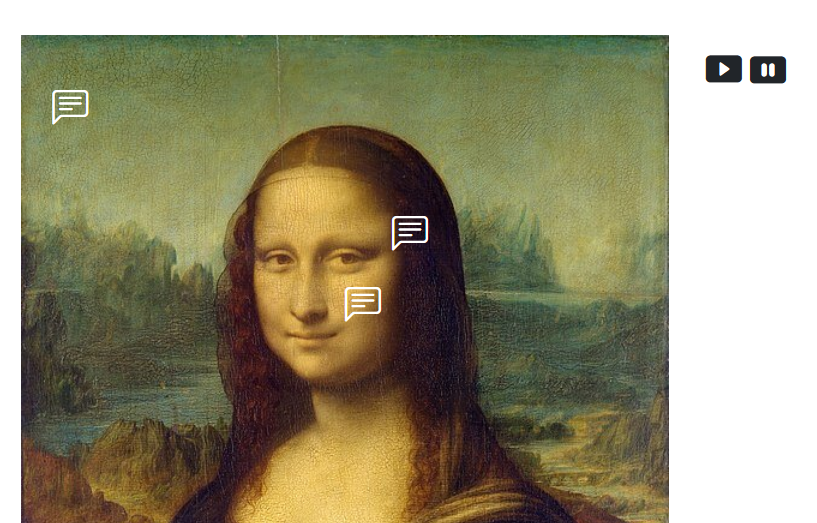
Mona Lisa sparqfire
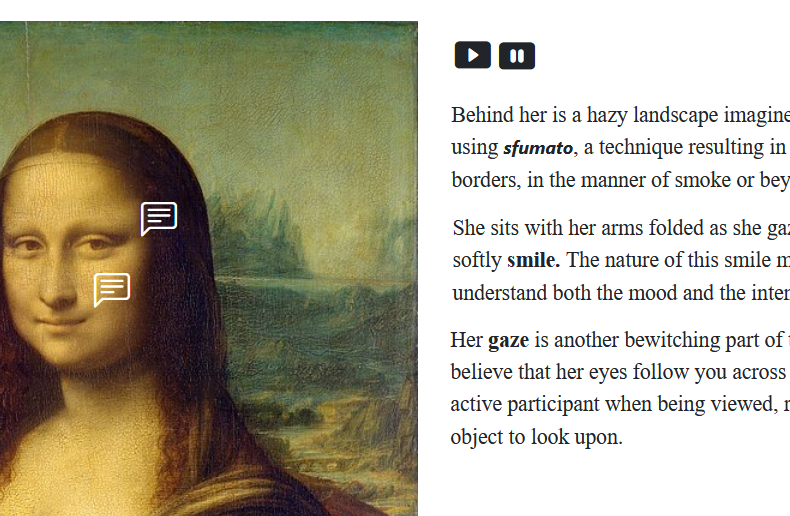
Select the speech icons to view the Description popup text.
Select the play/pause icons for a musical background.
Resources
Explore and get the best out of Sparqfire with tips and tutorials.
